Domain
After setting up the webserver, you can get a Raspberry Pi domain. Instead of typing in the IP of your station, you could type in the domain name. Much easier for other people to memorize and visit your site. I recommend that you go to NameCheap, which offers domains for a pretty low sum. They always have different types of promotions and are one of the cheapest domain registrars. Further on, the price can be reduced by applying a coupon. The rest of the process is done by using only free tools. Before proceeding make sure that you have completed the steps for creating your webserver and setting up a WordPress site. The following steps assume that you’re working on a computer that is in the same network as your weather station (you can ping its local IP). It would also be wise for you to get a static IP, check with your internet service provider.
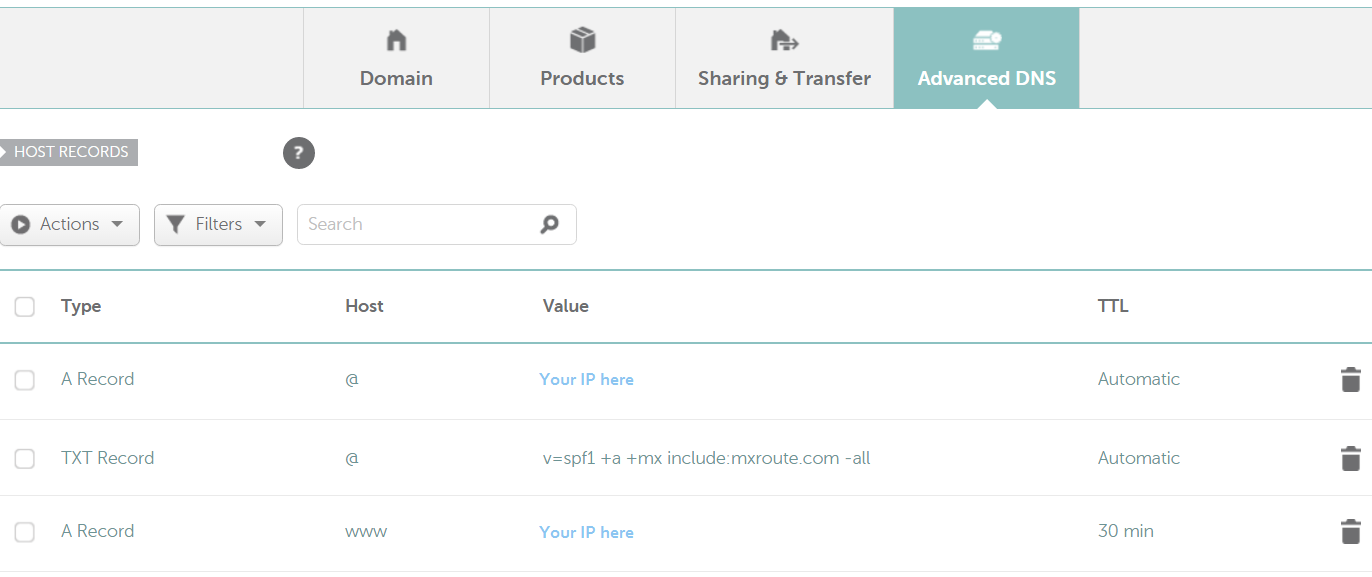
When you have yourself a shiny new domain, go to the Namecheap dashboard. Click on manage, right next to the domain. In the nameservers section make sure that Namecheap basic DNS is selected. Click on advanced DNS. With the following settings, you make sure that your new domain is correctly mapped to the weather station. First, you need to know your external IP, get it from this site. Remove the default Url redirect and CNAME records. Replace them with two A records. The first one has @ symbol for Host and inside Value paste your external IP. Second A record has www for Host and external IP for Value, just like the previous A record. Lastly, add a Url redirect record, that has your new domain name for value and @ symbol for Host. Do not forget to click on Save all changes. These settings make sure that your visitors will get redirected to your external IP, when they type in your domain. That’s all for now. These settings are not visible in real time, wait for at least half an hour before testing the domain.
Now get the IP address of the weather station by issuing the command sudo ifconfig and search for eth0, inet addr. If you’re using Wifi then look for lo, inet addr. This IP address is different from your external IP and is used only within your local area network. Afterwards, open the router settings, if you’re using one. In my case, the router is located on 192.168.1.1. To allow users to see your website from outside of the local network, you need to open port 80. The process is pretty simple if you use portforward.com.
Open portforward.com, find your router and follow the steps. You will need to type in your weather station IP (not the global one from previous steps) and port 80. Follow the guide and do not forget to save the settings on your router. Test them by visiting ping.eu. Type in your external IP (just like before where you edited the cloud dns settings file) and port 80. It has to show that port 80 is open. This means that the router correctly routes traffic from port 80 to your weather station. If it’s open, test the new domain to see if the changes have already taken place.
It can take up to 24 hours before your internet provider DNS registers the change. If your domain does not show your weather station, wait for a few hours and try again. When it does work, celebrate and show all your friends what you’ve accomplished! You can even contact me and I’ll proudly display you on Your weather station.
Email hosting
Want to use your email with your new domain? There are several free versions, but I’m using MxRoute. It’s said to be the second best option, right after Google. MxRoute is running a promotion, so their prices are quite low compared to regular prices with other providers. Should you decide to go with this option, you will be able to create your own emails that are linked to your new domain. Just like mine – [email protected].
Register your mail hosting here
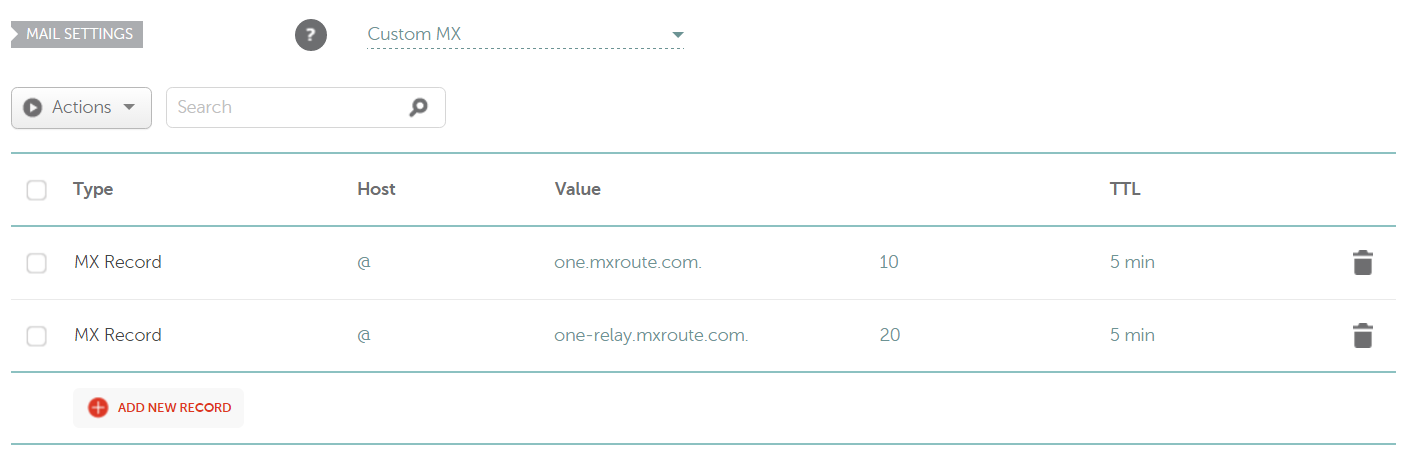
First, visit the control panel in MxRoute. Look for Quickly add email account. Type in your username and password. Afterwards, you will have to return to Namecheap advanced DNS hosting. Add a TXT record, that has @ for Host and v=spf1 +a +mx include:mxroute.com -all for Value. Add a URL redirect record, with mail for Host, https://one.mxroute.com:2096/ for Value and Unmasked . That’s not all. Scroll down to MX Records and select Custom MX. Add two MX records. Both contain @ for host. Type one.mxroute.com. in the first one and 10 right in the next box. For the second record type one-relay.mxroute.com. and 20 in the next box. Make sure you click on Save all changes.
Just like before, wait an hour or two before testing. With these settings, you’ll be able to receive and send emails, by visiting mail.yourdomain.com and typing in your username and password. Send an email to your old email address and reply to it. Congratulation, you just linked your own domain to the email server. Now you can add even more email accounts to share with your friends.