Create your own WordPress site
Using WordPress for your website is, in my opinion, one of the best decisions, now you can use your Raspberry Pi WordPress. WordPress is really good when it comes to SEO, easily customizable and offers a wide variety of plugins, themes and much more. In order to run your own WordPress site, you will need to fiddle around with your database. You could use phpMyAdmin, but for current purposes, it’s a bit of an overkill. If you’re planning on doing lots and lots of work with SQL do install it. Especially if you’re not too familiar with doing such things via terminal. Just like any other packages, you can install it with sudo apt-get install phpmyadmin.
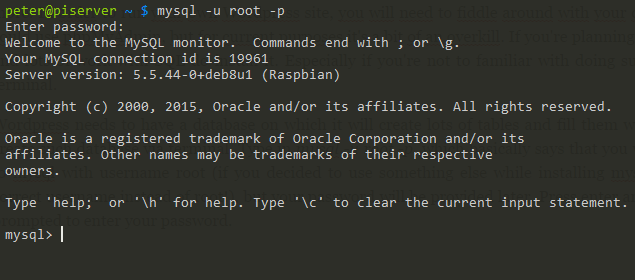
WordPress needs to have a database on which it will create lots of tables and fill them with data. Let’s create such database via terminal. Type in sudo mysql, which basically says that you want to log in to mysql with username root (if you decided to use something else while installing mysql, enter the correct username instead of root!), but your password will be provided later. Press enter and you will be prompted to enter your password. It should look something like this.
Now we create a database by typing in CREATE DATABASE WordpressDB;. In mysql each command must be finished with a semicolon, otherwise, it will not be executed. You will get a confirmation, saying that the database has just been created. Now you need to grant permissions to access the newly created database. Do that with grant all on WordPressDB.* to root@localhost identified by ‘mypass’; where mypass is your root password. You’re all set to continue, type in exit; to exit.
Finally, you can install WordPress. With your favorite browser, go to the IP of your Raspberry Pi. You will be welcomed with the WordPress installation wizard. Running through it will be a breeze, just as they promised. Press on the button to start configuring WordPress. Type in the database name reserved for WordPress. If you followed the previous tutorial, you used WordPressDB. You need to add the username and password, so the setup can write to the database. The last form is not important, you can skip it. Press the button and keep your fingers crossed. If you typed in the wrong values for username, password of the database, the setup will not be able to continue. But you can go back and fix that easily.
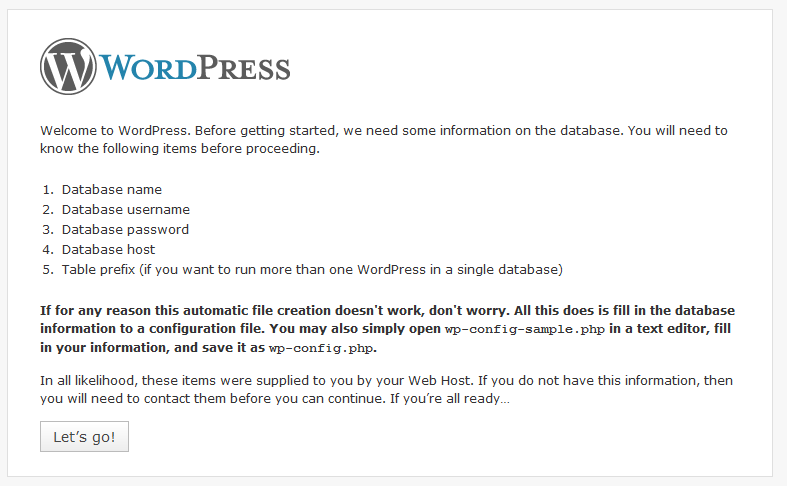
Press the button to start configuring WordPress. Type in your database name – WordPressDB, your previously created username, and password and leave the last part empty, we will not be needing it at all. The database name is important for later on. If you decide to choose a different name, you will need to modify the plugin which displays the weather. Its not a big deal, so do not worry. Press Run install and it should install the last part of WordPress. If you do run into troubles, you can copy the whole content displayed. Type nano wp-config.php and paste the text, save it. now refresh the page and you should see the last part of the configuration.
Write your admin name, password and page name. You need to set the pretty permalinks (so that the URLs will look nicer which will also help with SEO) in the WordPress dashboard. Go to settings, permalinks and select Post name and save the new option. Take a look at the dashboard and if you are new familiarize yourself with it. There are numerous tutorials for WordPress, but you should be able to learn about it yourself without any problem.